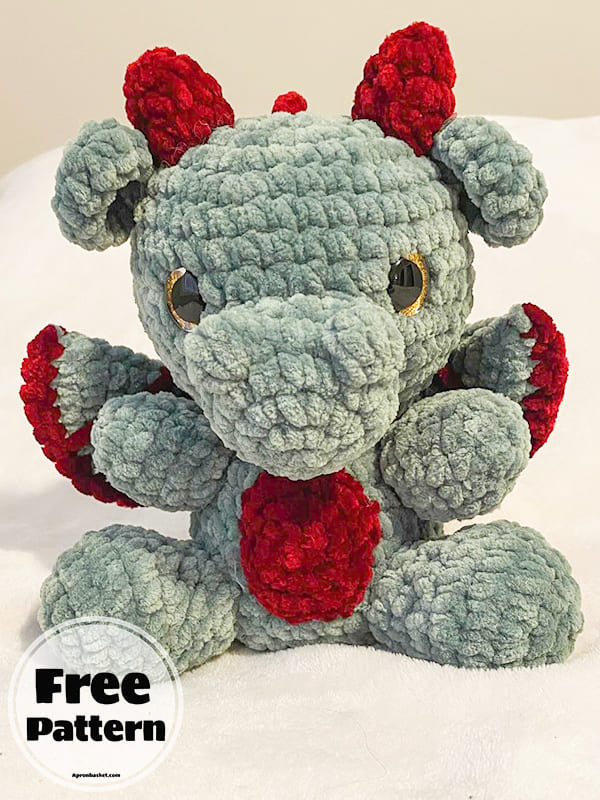
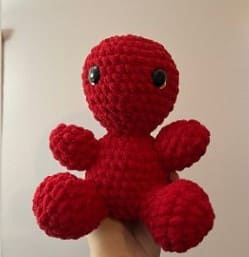
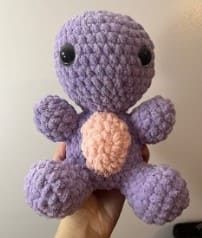
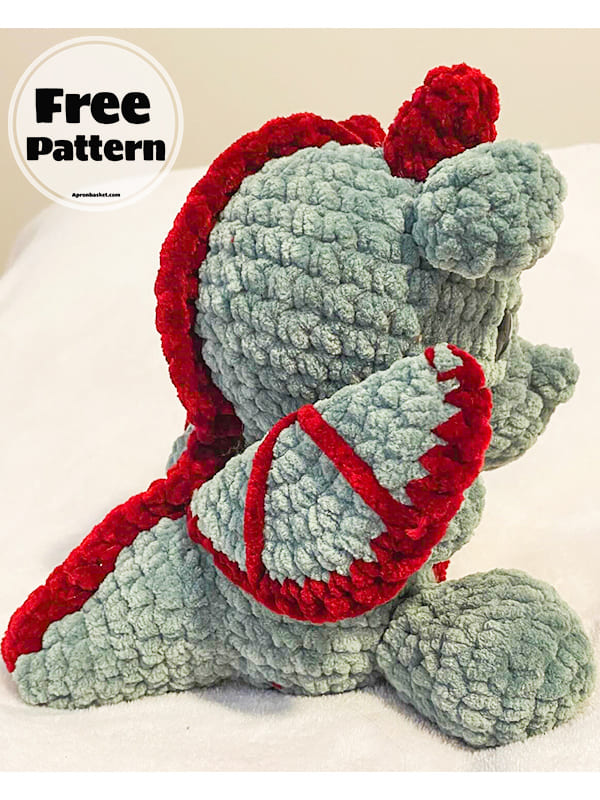
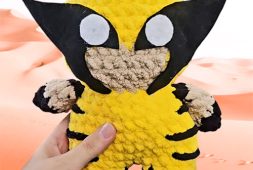
We will make an amigurumi dragon, one of children’s favorite toys. If you are wondering how to make this free crochet amigurumi dragon pattern, you should continue reading our article. This crochet dragon pattern is intermediate. It is a slightly long pattern for beginners. I’m sure kids will love it because it’s made with plush yarn. While making this amigurumi dragon, our designer used Bernat blanket yarn and 5.5 mm crochet hook. You can make the dragon’s eyes with black yarn or use 20 mm safety eyes. That’s it. Now let’s follow step by step below how to make this cute amigurumi dragon.
Free Amigurumi Dragon Pattern
Designer: crochetbybrittney
Abbreviations:
MR: Magic ring
R: Round
Sc: Single crochet
Inc: Increase
Dec: Decrease
BBL: Bobble stitch
FO: Fasten off
Slst: Slip stitch
FLO: Front loop only
BLO: Back loop only
Ch: Chain
Dc: Double crochet
Tr: Triple crochet
Materials:
Bernat blanket
20 mm safety eyes
Polyfill
Stitch marker
5.5 mm hook
Yarn needle
Level: Intermediate.
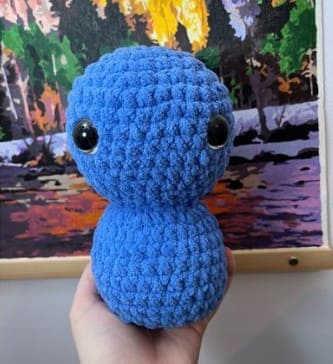
Head and body
Main body colour:
R1. 8 sc in MR (8)
R2. (inc)*8 (16)
R3. (1sc,inc)*8 (24)
R4. (3sc,inc)*6 (30)
R5. (4sc,inc)*6 (36)
R6-10. 5 rounds of 36 sc (36)
R11. (4sc,dec)*6 (30)
R12. 30 sc (30)
R13. (3sc,dec)*6 (24)
R14. (2sc,dec)*6 (18) (insert eyes on rounds 8 and 9, 6 visible stitches apart, stuff head).
R15. (1sc,dec)*6 (12)
R16. 12 sc (12)
R17. (inc in FLO)*12 (24)
R18. (3sc,inc)*6 (30)
R19-24. 6 rounds 30 sc (30)
R25. (3sc,dec)*6 (24)
R26. (2sc,dec)*6 (18) (stuff body)
R27. (1sc,dec)*6 (12)
R28. dec *6 (6) (FO and finish stuffing and hide the yarn end in the body).
Ears (make 2)
Main body colour:
R1. 6 sc in a MR (6)
R2. (inc)*6 (12)
R3. 12 sc (12) (FO and leave tail long for sewing).
Sew on rounds 5 and 6 of the head (in the middle of the head).
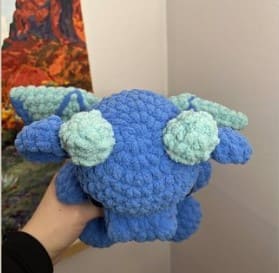
Horns (make 2)
In 2nd colour:
R1. 4 sc in a MR (4)
R2. (1sc,inc)*2 (6)
R3. (2sc,inc)*2 (8)
R4. 8 sc (8) (FO and leave tail long for sewing, lightly stuff horns).
Sew on rounds 3 and 4 of the head (in the middle of the head).
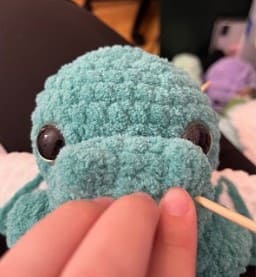
Muzzle
Main body colour:
R1. 6 sc in a MR (6)
R2. (inc)*6 (12)
R3. (3sc,3inc)*2 (18)
R4. 8 sc, BBL, 3 sc, BBL, 5 sc (18)
R5. 18 sc (18) (FO and leave tail long for sewing stuff as you sew to have a firm muzzle).
Sew the top with the 2 BBL stitches centered between the eyes on the head, (top of the muzzle between rows 8 and 9).
Arms (make 2)
Main body colour:
R1. 5 sc in a MR (5)
R2. (inc)*5 (10)
R3. (4sc,inc)*2 (12)
R4-5. 2 rounds (12)
R6. (1sc,dec)*4 (8), (FO stuff and leave tail long for sewing).
Sew between rounds 18 and 20, 6 stitches apart on the body.
Feet (make 2)
Main body colour:
R1. 6 sc in a MR (6)
R2. (inc)*6 (12)
R3. (1sc,inc)*6 (18)
R4-5. 2 rounds 18 sc (18)
R6. 3 sc, 6 dec, 3 sc (12)
R7-8. 2 rounds 12 sc (12), (FO, stuff and leave tail long for sewing).
Sew between rounds 23-26, 4 stitches apart on the body.
Tail
Main body colour:
R1. 4 sc in a MR (4)
R2. (1sc,inc)*2 (6)
R3. (1sc,inc)*3 (9)
R4. 9 sc (9)
R5. 3sc, 3 inc, 3 sc (12)
R6. 3sc, (1sc,inc)*3, 3 sc (15)
R7. 15 sc (15)
R8. (2sc,inc)*5 (20)
R9. 20 sc (FO, and leave tail long for sewing, stuff the body).
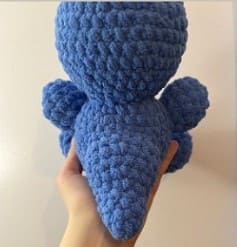
Sew tail on round 19-24 centered in the back of the body.
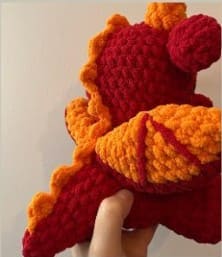
Wings (make 2)
Start in 2nd colour:
R1. 6 sc in a MR (6)
R2. (inc)*6 (12)
R3. (1sc,inc)*6 (18)
R4. (2sc,inc)*6 (24)
R5. (3sc,inc)*6 (30)
R6. (4sc,inc)*6 (36), (change to main colour in the last stitch).
R7. Fold the circle in half and 18 sc across the fold (18), (FO, and leave tail long to sewing).
Sew on a V shape on the wings.
Sew onto the top of the tail and the body, centered with the tail.
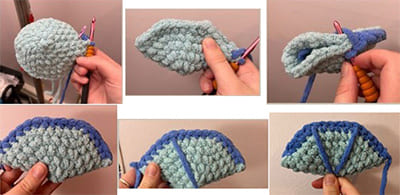
Making the V shape on the wing:
Insert needle into R2 on the back of the wing with about 2.5 feet of yarn (be able to wrap around the wings 4 times) with 2nd colour and come out on R1 and in image 5 put your needle up to 1/3 of the way on R7 go back to R2 and repeat but this time 2/3 of the way on R7 go back to R2 FO and hide ends (I like to tie ends together to secure them better).
How to know if it is the back or front of the wing:
It’s up to you which side just ensure that they are opposite for each wing and that the back is facing the plush when sewing and that the ends are close to the body/ tail and not out to the side.
Assembly of the wing images:
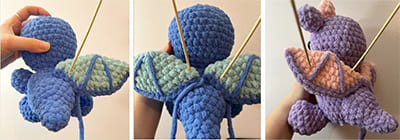
I like to sew up until the first line we made in the wing.
Ensure that you are sewing the wings onto the body as well as the tail because it will flop backwards if not.
Now let’s make dragon’s add ons.
Belly patch
In secondary colour:
R1. 6 sc in a MR (6)
R2. (inc)*6 (12)
R3. (3sc,3inc)*2 (18), (FO and leave tail long for sewing).
Sew onto the 18-23 centered with the muzzle on the body (see image from the legs and arms for a visual for the assembly).
Mowhawk
In secondary colour:
In the 2nd row of the head slst and ch 1 pull tight and then ch 2 before dc in the stitch below, dc all the way down the head till the end of the tail and slst and fasten off, hide ends.
I did about 24 dc down the back.
Spikes
In secondary colour:
In the 2nd row of the head slst then ch 1 and pull tight, TR and chain 1 then slst in the next stitch and 1 sc before repeating all the way down the head till the end of the tail slst and fasten off, hide all ends.
You finished the amigurumi dragon pattern!

admin
Recommended To You
Sandy
May 7, 2024 at 7:00 pmHow many skeins were used and yards of yarn per skein? I really like this pattern! Thank you.
admin
May 8, 2024 at 4:59 amHello, added the designer’s link. You can get training from him.