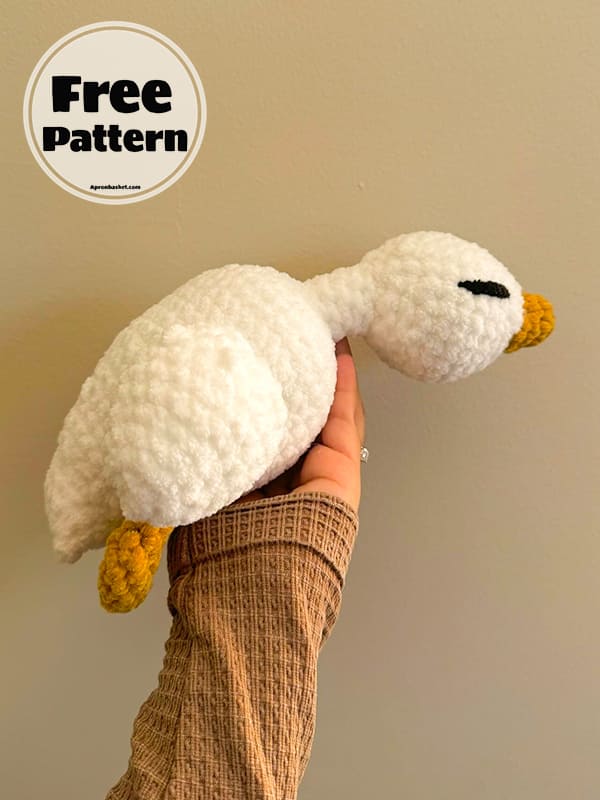
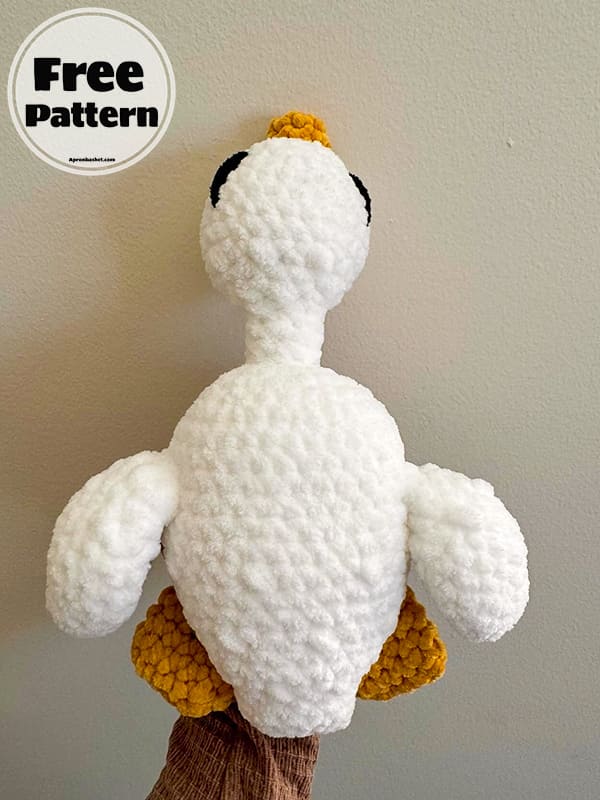
You will love this soft crochet goose amigurumi toy. If you are thinking of a toy for your children to have an enjoyable time with, I recommend this cute crochet goose amigurumi toy. They will love it. The crochet goose pattern is beginner level and very simple to make. The goose generally consists of a single piece. Only the feet and wings are made separately and fixed. After completing the goose pattern, you can embroider its eyes with black thread or assemble ready-made safety eyes. You can follow how to do this step by step below. Now let’s move on to the pattern instructions on how to make a crochet goose. Stay tuned for the best crochet animals every day.
Crochet Goose Pattern
Designer: kellonial_creations
Materials
Weight 6 bulky yarn (white, orange and black).
Size 6 mm crochet hook.
Yarn needle.
Stuffing.
Scissors.
Optional: safety eyes (15 mm).
Stitch markers.
Abbreviations
MR- Magic ring
Sc- Single crochet
Dc- Double crochet
Hdc- Half double crochet
Inc- Increase
Dec- Decrease
Slst- Slip stitch
St- Stitch
Ch- Chain
Sl knot- Slip knot
Beak
Start with orange.
R1. MR, 6 sc (6)
R2. 1 inc, 4 sc, 1 inc (8)
R3. BLO 8 sc (8)
Do not cut the yarn. Continue crocheting.
Head
Color change to white.
R4. 8 sc (8)
R5. 8 inc (16)
R6-R7. 16 sc (16), (2 rounds total).
R8. (1sc,1inc)*8 (24)
R9-R12. 24 sc (24), (4 rounds total).
R13. (1sc,1dec)*8 (16)
Start to stuff and continue as you go.
R14. 16 sc (16)
R15. 8 dec (8)
Safety eyes: optional, places safety eyes between rows 9 and 10 with 8 or 9 spaces between them.
Do not cut the yarn. Continue crocheting.
Neck
R16. 6 sc, 1 dec (7)
R17-R21. 7 sc (7), (5 rounds total).
Stuff and continue as you go.
Note: stuff neck very firmly If you don’t want a floppy neck.
Do not cut the yarn. Continue crocheting.
Body
R22. 7 inc (14)
R23. (1sc,1inc)*7 (21)
R24. (2sc,1inc)*7 (28)
R25. 28 sc (28)
R26. (3sc,1inc)*7 (35)
R27-R32. 35 sc (35), (6 rounds total).
R33. (3sc,1dec)*7 (28)
R34-R35.28 sc (28), (2 rounds total).
R36. (2sc,1dec)*7 (21)
R37-R38. 21 sc (21), (2 rounds total).
Stuff and continue to stuff until the end.
Do not cut the yarn. Continue crocheting.
Tail
R39. (1sc,1dec)*7 (14)
R40-R42. 14 sc (14), (3 rounds total).
R43. 1 sc, 6 dec, 1 sc (8)
If you added safety eyes: Add a few more sc if needed. Make sure when you fold in half, the tail end is horizontal and not vertical. Use the safety eyes as a guide.
Fold in half and sc both sides together.
Shut with 4 sc across (4).
Fasten off and weave tuck in ends.
Note: the top side of the body is where the tail faces down and the bottom side the body will be where the tail faces up.
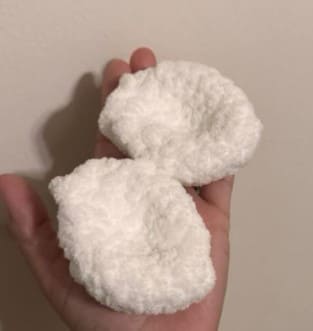
Wings (make 2)
Start with white.
Do not stuff wings.
R1. MR, 6 sc (6)
R2. 6 inc (12)
R3. 12 sc (12)
R4. (1sc,1inc)*6 (18)
R5-R7. 18 sc (18), (3 rounds total).
R8. (1sc,1dec)*6 (12)
R9. 12 sc (12)
R10. 6 dec (6)
Fold in half and sc both sides together.
Shut with 3 sc across (3).
Fasten off, leave longish yarn tail to sew wings onto body.
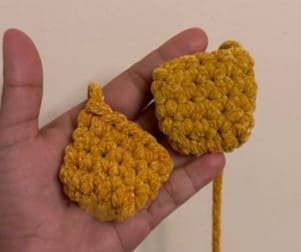
Feet (make 2)
Start with orange.
Do not stuff feet.
R1. Sl knot, ch 5.
Starting in the 2nd ch from the hook work 3 sc down the ch.
In the last ch work 3sc.
Work 2 sc on the other side of the ch.
In the last ch work 3 sc (11)
R2-R4. 11 sc all around (11), (3 rounds total).
Fold in half and sc both sides together.
Shut with 5 sc across (5).
Fasten off and leave longish yarn tail to sew wings onto body.
Assembly
1. Eyes: use the yarn needle and a strand of black yarn to sew/ embroider the eyes. Insert the yarn needle with the black yarn strand at the center top of the head and outsert it between rows 7 & 8 on the right side of the head, continue 4 spaces back and insert the yarn needle back to the center top of the head and repeat previous step on the left side of the head. Tie ends together once both eyes are made and weave/tuck in ends.
2. Use the yarn needle to sew both wings on the sides of the body. Make sure it is rougly around the center part/middle of the body sides.
3. Flip waddles on his back and use the yarn needle to sew both feet on the lower half of the body, one foot is to be sewn on the bottom right side & the other foot on the bottom left side.
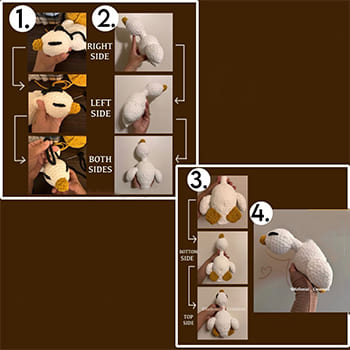
4. Enjoy your new crochet goose snuggly waddles.

admin
Recommended To You