You’re feeling the Christmas spirit now, right? There is very little time left and I am very excited. Today, a small and cute crochet gnome pattern special for Christmas is available for free. You can use it as a beautiful crochet christmas ornaments tree decoration, home decorations or as a keychain if you wish. It will be very useful in every way. It might be a great idea to gift a handmade crochet gnome to your loved ones in the new year. It can make them happy this year with its soft texture.
Crochet Gnome Pattern
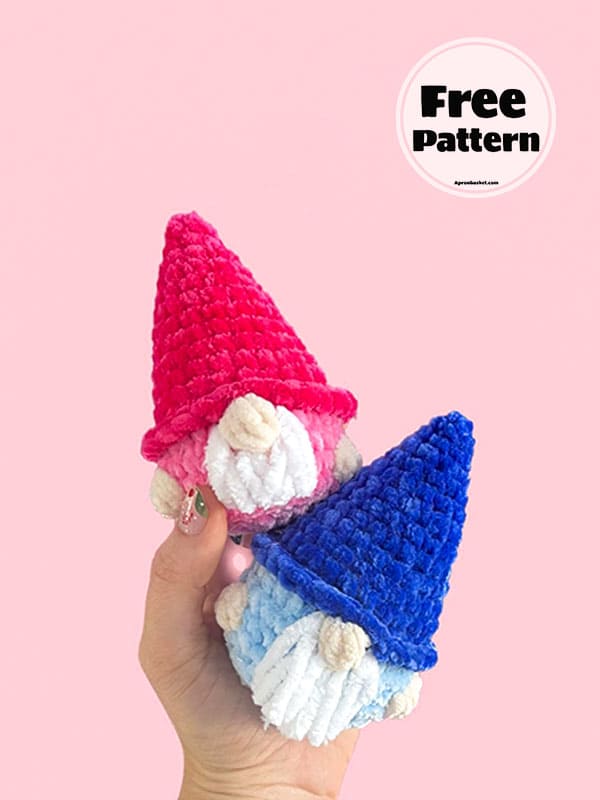
I can say that the crochet gnome pattern is beginner level. It is an ideal amigurumi pattern for beginners as it is not too difficult. Complete this cute crochet gnome pattern now with detailed step by step pattern instructions.
Pattern: peachpenguincrochet
Materials
– 2 colors of velvet yarn
– tan velvet yarn
– white velvet yarn
– 4.5 mm crochet hook
– polyfill stuffing
– scissors
– stitch marker
Abbreviations
MR- Magic ring
Sc- Single crochet
St- Stitch
Inc- Increase
Dec- Decrease
FLO- Front loop only
BLO- Back loop only
Hat and body
Start with hat color.
Rnd 1. MR 6 sc [6]
Rnd 2. sc in each st [6]
Rnd 3. (sc,inc)x3 [9]
Rnd 4. (sc,inc,sc)x3 [12]
Rnd 5. sc in each st [12]
Rnd 6. (3sc,inc)x3 [15]
Rnd 7. (sc,inc,3sc)x3 [18]
Rnd 8. sc in each st [18]
Rnd 9. (4sc,inc,sc)x3 [21]
Rnd 10. (inc,6sc)x3 [24]
Rnd 11. sc in each st [24]
Rnd 12. (3sc,inc,4sc)x3 [27]
Rnd 13. (6sc,inc,2sc)x3 [30]
Rnd 14. FLO sc in each st [30]
Rnd 15. (in the inside stitches left by the FLO row and with the secondary body color) 11 sc, tan bob st, 18 sc [30]
Rnd 16. (8sc,dec)x3 [27]
Rnd 17. 5 sc, tan bob st, 10 sc, tan bob st, 10 sc [27]
Rnd 18. sc in each st [27]
Rnd 19. (7sc,dec)x3 [24]
Rnd 20. BLO (dec,2sc)x6 [18]
Stop here to stuff.
Rnd 21. (sc,dec)x6 [12]
Rnd 22. dec in each st [6]
Join with slst and finish off.
Assembly
Since this is a no sew pattern it is super easy to assemble. Cut the white yarn into 4 inc strips and slip stitch them around the nose to make a beard. Once they are all on, straighten the beard and trim it to about the bottom of the gnome.
And there you have it. Your very own mini gnome.

admin
Recommended To You